How To Setup Your Own YouTube Like Website Using ClipBucket On CentOS 6.5
ClipBucket is an open-source and free Multimedia Management Script used to build your own media sharing site like YouTube, Metacafe, Veoh and Hulu etc. Whether you are a small fan club or a big Multi Tier Network operator, Clipbucket will fulfill your video management needs.

 Click Continue.

It will check the files/folders permissions now, if everything seems ok, click Continue.

 Enter the site name, site slogan and site URL etc and click Continue.
 The registration page will appear. It is optional. You can skip and finish the installation.
 Now the ClipBucket has been installed.

 If u face this error then u just create alll tree directories.
In this tutorial let us build a basic Youtube like website. Here i use CentOS 6.532bit edition to setup thiswebsite. My hostname and IP address are servergeniusansh.com and 192.168.0.155/24 respectively. Change these values as per your scenario.
Prerequisites
Install Apache, MySQL, PHP and PHP modules:
[root@server ~]# yum install mysql mysql-server httpd php php-mysql php-gd php-imap php-ldap php-odbc php-pear php-xml php-xmlrpc php-mbstring wget unzip -y
Start/restart MySQL and Apache services now:
[root@server ~]# /etc/init.d/mysqld start
[root@server ~]# /etc/init.d/httpd start
[root@server ~]# chkconfig mysqld on
[root@server ~]# chkconfig httpd on
Create MySQL root user password:
Create MySQL database and user for ClipBucket:
[root@server ~]# mysql -u root -p
Enter password:
Welcome to the MySQL monitor.  Commands end with ; or \g.
Your MySQL connection id is 2
Server version: 5.1.69 Source distribution

Copyright (c) 2000, 2013, Oracle and/or its affiliates. All rights reserved.

Oracle is a registered trademark of Oracle Corporation and/or its
affiliates. Other names may be trademarks of their respective
owners.

Type 'help;' or '\h' for help. Type '\c' to clear the current input statement.

mysql> create database clipbucketdb;
Query OK, 1 row affected (0.02 sec)
 Query OK, 0 rows affected (0.01 sec)
mysql> GRANT ALL PRIVILEGES ON clipbucketdb.* TO clipbucket@192.168.0.155 IDENTIFIED BY 'admin@123';
Query OK, 0 rows affected (0.01 sec)
mysql> flush privileges;
Query OK, 0 rows affected (0.00 sec)

mysql> exit
Bye
Open the Apache default port 80 through your firewall/router:
[root@server html]# vi /etc/sysconfig/iptables
# Firewall configuration written by system-config-firewall
# Manual customization of this file is not recommended.
*filter
:INPUT ACCEPT [0:0]
:FORWARD ACCEPT [0:0]
:OUTPUT ACCEPT [0:0]
-A INPUT -p udp -m state --state NEW --dport 80 -j ACCEPT
-A INPUT -p tcp -m state --state NEW --dport 80 -j ACCEPT
-A INPUT -p udp -m state --state NEW --dport 53 -j ACCEPT
-A INPUT -p tcp -m state --state NEW --dport 53 -j ACCEPT
-A INPUT -m state --state ESTABLISHED,RELATED -j ACCEPT
-A INPUT -p icmp -j ACCEPT
-A INPUT -i lo -j ACCEPT
-A INPUT -m state --state NEW -m tcp -p tcp --dport 22 -j ACCEPT
-A INPUT -j REJECT --reject-with icmp-host-prohibited
-A FORWARD -j REJECT --reject-with icmp-host-prohibited
COMMIT
Restart the iptables to save the changes:
[root@server html]# /etc/init.d/iptables restart
Disable SELinux and reboot your system:
[root@server ~]# vi /etc/sysconfig/selinux
# This file controls the state of SELinux on the system.
# SELINUX= can take one of these three values:
#     enforcing - SELinux security policy is enforced.
#     permissive - SELinux prints warnings instead of enforcing.
#     disabled - No SELinux policy is loaded.
SELINUX=disabled
# SELINUXTYPE= can take one of these two values:
#     targeted - Targeted processes are protected,
#     mls - Multi Level Security protection.
SELINUXTYPE=targeted
The following prerequisties will not be found in Official repositories. So let us install additional repositoriesRPMForge, EPEL and RPMFusion:
[root@server src]# rpm -ivh http://dl.fedoraproject.org/pub/epel/6/i386/epel-release-6-8.noarch.rpm
[root@server ~]# rpm -ivh http://pkgs.repoforge.org/rpmforge-release/rpmforge-release-0.5.3-1.el6.rf.i686.rpm
[root@server src]# rpm -ivh http://download1.rpmfusion.org/nonfree/el/updates/6/i386/rpmfusion-nonfree-release-6-1.noarch.rpm
[root@server src]# rpm -ivh http://download1.rpmfusion.org/free/el/updates/6/i386/rpmfusion-free-release-6-1.noarch.rpm
Now install these additional prerequisites.
[root@server ~]# yum groupinstall "Development Tools"
[root@server ~]# yum install lame mencoder ffmpeg flvtool2 libogg libvorbis freetype-devel SDL-devel freeglut-devel zlib gpac -y
Open your php.ini file and set change the values as shown below. To find the php.ini file enter the command:
[root@server ~]# php -i|grep php.ini
Configuration File (php.ini) Path => /etc
Loaded Configuration File => /etc/php.ini
PHP Warning:  Unknown: It is not safe to rely on the system's timezone settings. You are *required* to use the date.timezone setting or the date_default_timezone_set() function. In case you used any of those methods and you are still getting this warning, you most likely misspelled the timezone identifier. We selected 'Asia/Calcutta' for 'IST/5.0/no DST' instead in Unknown on line 0
Now open the php.ini file and edit as follows:
[root@server ~]# vi /etc/php.ini

[...]
upload_max_filesize = 500M
max_execution_time = 36000
max_input_time = 600
memory_limit = 5000M
magic_quotes_gpc = On
magic_quotes_runtime = Off
register_globals = Off
output_buffering = Off
display_errors = On
short_open_tag = On
date.timezone = Asia/Calcutta
Install PHPShield Loaders
PHPShield is an application that is used to protect the code in a 2 core files within PHPmotion. In order for PHPmotion to run, your server will need to have the PHPShield loaders correctly installed.
Download PHPShield Loaders
Find the PHP extensions directory first:
[root@server ~]# php -i|grep extension_dir
extension_dir => /usr/lib/php/modules => /usr/lib/php/modules
Now go to extension directory and download the phpshield loader. You can download the phpshield loaders[root@server ~]# cd /usr/lib/php/modules/ [root@server modules]# wget http://www.phpshield.com/loaders/ixed4.lin.x86-32.zip
Extract and export the phpshield loader value to your php.ini file. If you are using php version 5.3, then you should export ixed5.3 extension to your php.ini file:
[root@server modules]# unzip ixed4.lin.x86-32.zip
[root@server modules]# echo "extension=ixed.5.3.lin" >> /etc/php.ini
Finally, reboot the system once to save and activate all settings.
Install ClipBucket
Download the latest version of ClipBucket here.
Extract the downloaded file:
[root@server ~]# unzip clipbucket-2.6-r738-security-fixed-p3.zip
This will extract the ClipBucket zip file to your current directory. Copy the contents of /upload folder to Apache root document folder.
[root@server ~]# cp -rf upload/* /var/www/html/
[root@server ~]# cp .htaccess /var/www/html/
Now set the full permissions to the following directories:
[root@server ~]# chmod -R 777 /var/www/html/includes/
[root@server ~]# chmod -R 777 /var/www/html/files/
[root@server ~]# chmod -R 777 /var/www/html/files/conversion_queue/
[root@server ~]# chmod -R 777 /var/www/html/files/logs/
[root@server ~]# chmod -R 777 /var/www/html/files/original/
[root@server ~]# chmod -R 777 /var/www/html/files/temp/
[root@server ~]# chmod -R 777 /var/www/html/files/thumbs/
[root@server ~]# chmod -R 777 /var/www/html/files/photos/
[root@server ~]# chmod -R 777 /var/www/html/files/videos/
[root@server ~]# chmod -R 777 /var/www/html/files/mass_uploads/
[root@server ~]# chmod -R 777 /var/www/html/files/temp/install.me
[root@server ~]# chmod -R 777 /var/www/html/images/
[root@server ~]# chmod -R 777 /var/www/html/images/avatars/
[root@server ~]# chmod -R 777 /var/www/html/images/backgrounds/
[root@server ~]# chmod -R 777 /var/www/html/images/collection_thumbs/
[root@server ~]# chmod -R 777 /var/www/html/images/groups_thumbs/
[root@server ~]# chmod -R 777 /var/www/html/includes/langs/en.lang
[root@server ~]# chmod -R 777 /var/www/html/cache/
[root@server ~]# chmod -R 777 /var/www/html/cache/comments/
[root@server ~]# chmod -R 777 /var/www/html/cache/userfeeds/
[root@server ~]# chmod -R 777 /var/www/html/cb_install/
Begin Installation
Navigate to http://ip-address or domain-name/cb_install/ from your browser and follow the on screen instructions.
It will check the files/folders permissions now, if everything seems ok, click Continue.
Enter the database name, database user and password. Click Continue.
 Enter the Administrative account details and click Continue.
Post Installation
Delete the /db_install folder. And also don’t forget to change the permission of directory /includes to 755.
[root@server ~]# rm -fr /var/www/html/cb_install/
[root@server ~]# chmod -Rv 755 /var/www/html/includes/
Add the following line in your crontab as shown below:
[root@server ~]# vi /var/spool/cron/root
* * * * * php -q /var/www/html/actions/video_convert.php
* * * * * php -q /var/www/html/actions/verify_converted_videos.php
0 0,12,13 * * * php -q /var/www/html/actions/update_cb_stats.php
Restart the cron daemon:
[root@server ~]# service crond restart
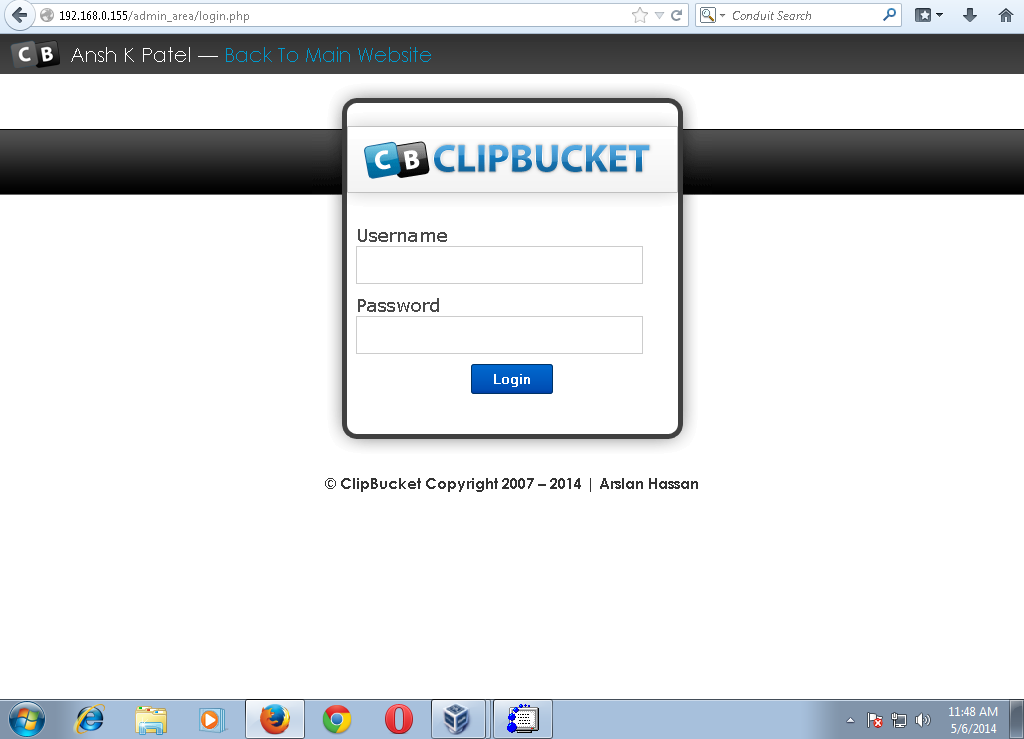
Now login to admin by clicking on Continue to Admin Area. Enter the username and password. Or navigate to http://ip-address or domain-name/admin_area from your browser.
This is how my Administration Page looks:
If all the values are valid click Update settings.
Navigate to Tool Box on the left pane and click Server Modules Info. If you have given the correct path in your previous steps, every modules should work as shown in the below screen shot.
That’s it. Now the initial configuration is done.
Test ClipBucket
Let us add a sample video to our media site. Go to the ClipBucket Administration area (http://ip-address/admin_area/).
Navigate to Videos -> Manage Categories. Enter the category name and description. Click Add Category.
Go to your Homepage (http://ip-address or Domain-name).
Click on Upload Video on the top right corner of your home page.
Select the videos to upload.
Enter name of the video, description etc. Click Save Data.
The uploaded data will immediately converted and uploaded to your site. Wait for few minutes. It will take a while depending upon your size of the video. You can view the status of the video on the Video Managerin your Administration Page.
Once the video conversion is finished, your video will appear on your home page. Click on the video to play. This is how my media site looks in live.
That’s it. Enjoy UR Self Friends!!!


Comments
Post a Comment